How to Create a Custom Header for Your Web Help System
HelpSmith allows you to customize the header area of your Web Help system by using a template based on custom HTML/CSS code. Thus, you can create custom help system's appearance with your own logo, colors, and other elements that will fit to the common design of your corporate website.
In this video we will demonstrate how you can replace the default Web Help header with a custom header by embedding its HTML/CSS code into a sample help project.
Below are the steps that you can follow to create a custom header for your own Web Help system.
Step 1: Develop a Custom HTML/CSS Header
On the first step, you should prepare the HTML, CSS, and other files of your custom header.
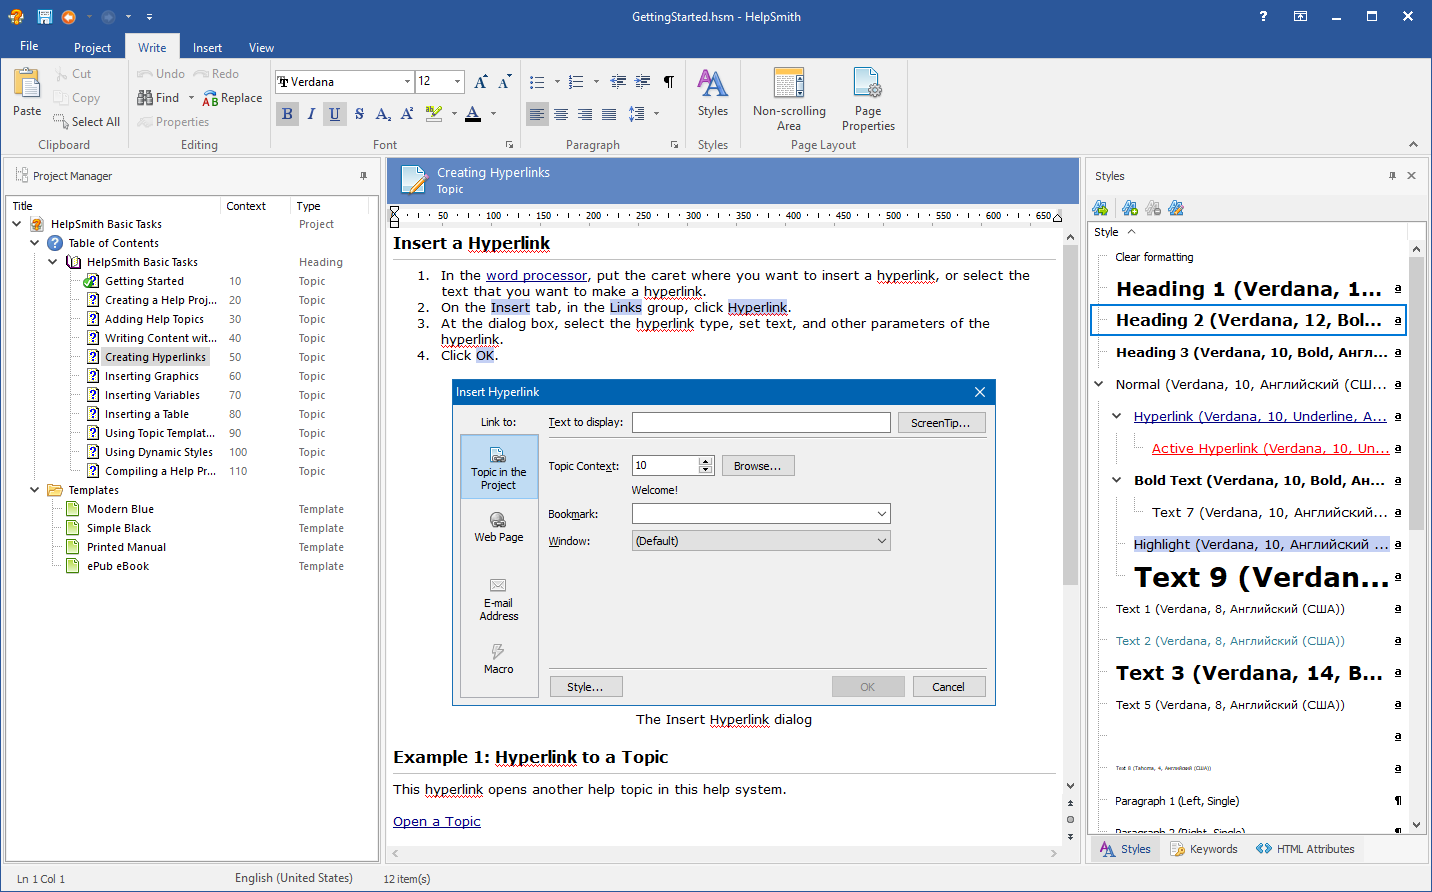
For example, you can use a text editor like Notepad++ to edit the code of your header. Also, you can view your HTML file in a regular browser program like Edge, Firefox, or Chrome.
Step 2: Copy and Paste the Header to Your Help Project
After you have tested your header in a web-browser, you can include the header's code to your help project.
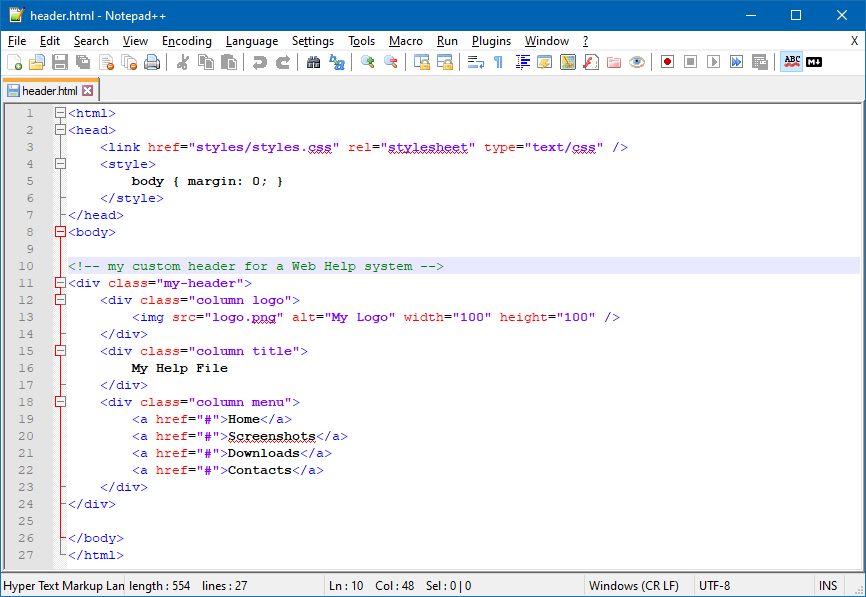
- Open your HTML file in a text editor like Notepad++.
- Select and copy (press Ctrl+C) the part of the code that describes the header area to the Clipboard.
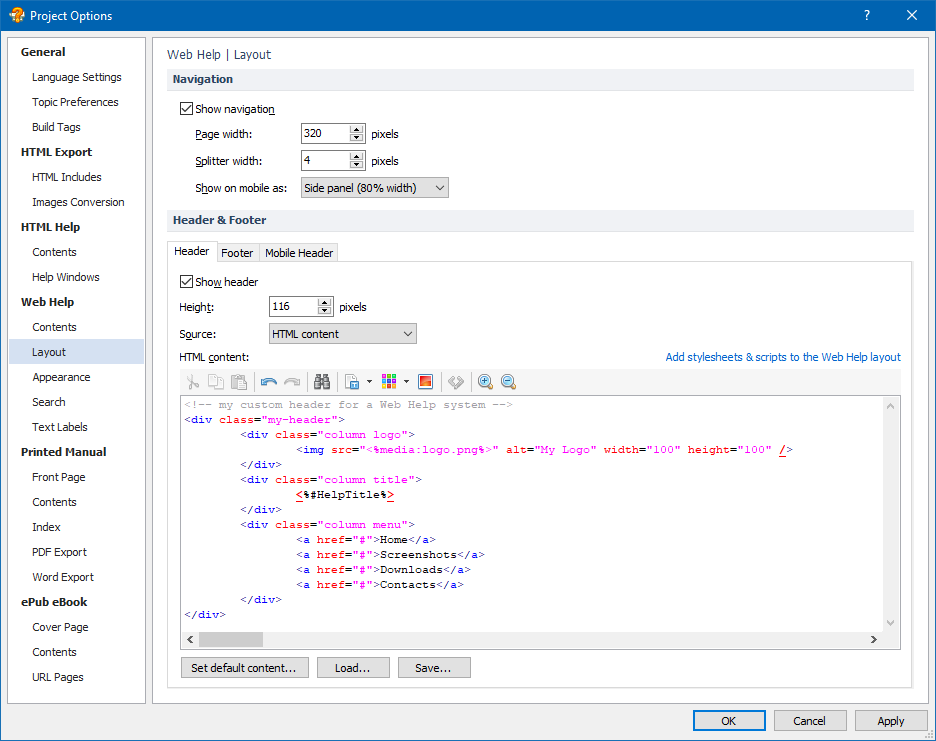
- In HelpSmith, on the Project tab, click Project Options.
- In the Project Options dialog, in the left sidebar, select the Web Help|Layout section.
- Replace the HTML code of the default header with your custom code.
Press Ctrl+V to paste your code from the Clipboard. - In the pasted HTML code, insert the #HelpTitle variable that will display the help system's title.
To do so, click the "Insert Text Variable" button available in the built-in HTML Editor. - In the pasted HTML code, insert a logo file from the project's Media Repository.
To do so, click the "Insert Media Reference" button available in the built-in HTML Editor. - Click OK.
Step 3: Include the CSS and JS Files to Your Help Project
If the HTML code of your custom header uses CSS, JavaScript, and other files, you should also include these files to your help project. Please note that the HelpSmith's HTML Includes feature allows you to include an entire folder containing CSS and JS files, or individual files.
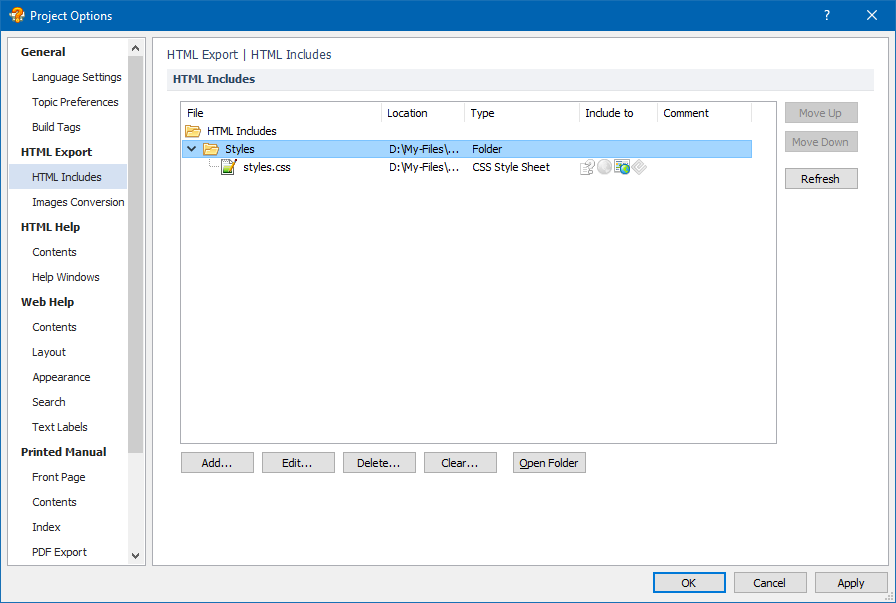
- In HelpSmith, on the Project tab, click Project Options.
- In the Project Options dialog, in the left sidebar, select the HTML Includes section.
- Add the folder containing the CSS, JS files, and also the images linked within the CSS file, which are used by your header.
Remark: When including the folder or individual files, ensure to set that the CSS and JS files should be included to the Web Help Layout. - Click OK.
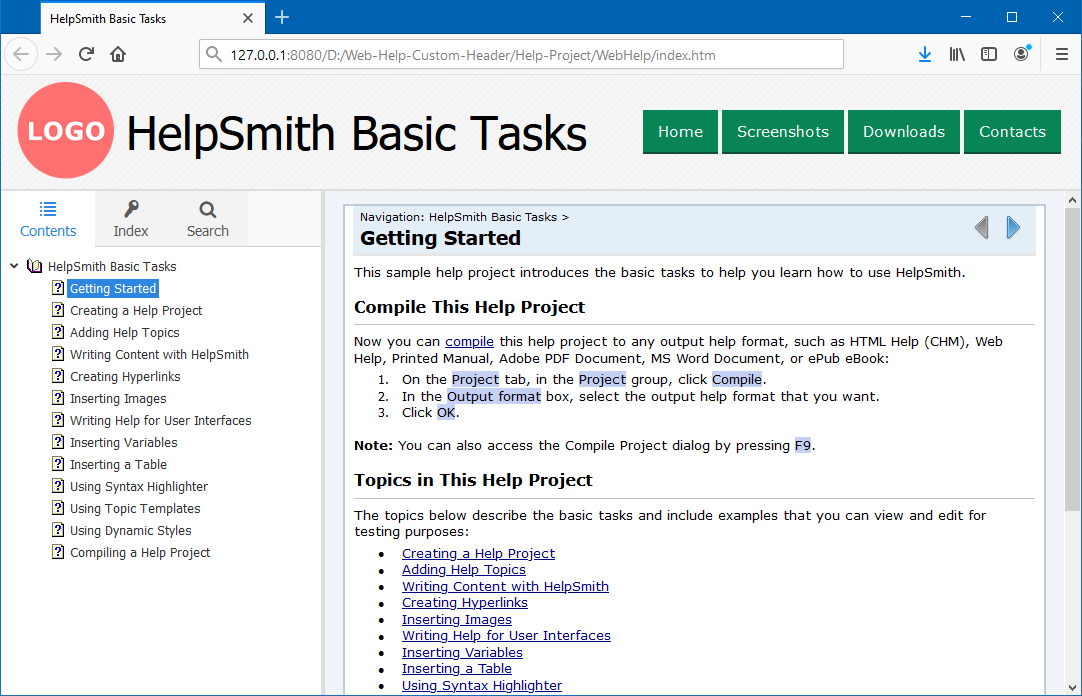
Step 4: Compile Your Web Help System
Now you can test your custom header by compiling your help project to the Web Help format.
- On the Project tab, in the Project group, click Compile.
- In the Compile Project dialog, in the Output Format box, select Web Help.
- Click Compile.