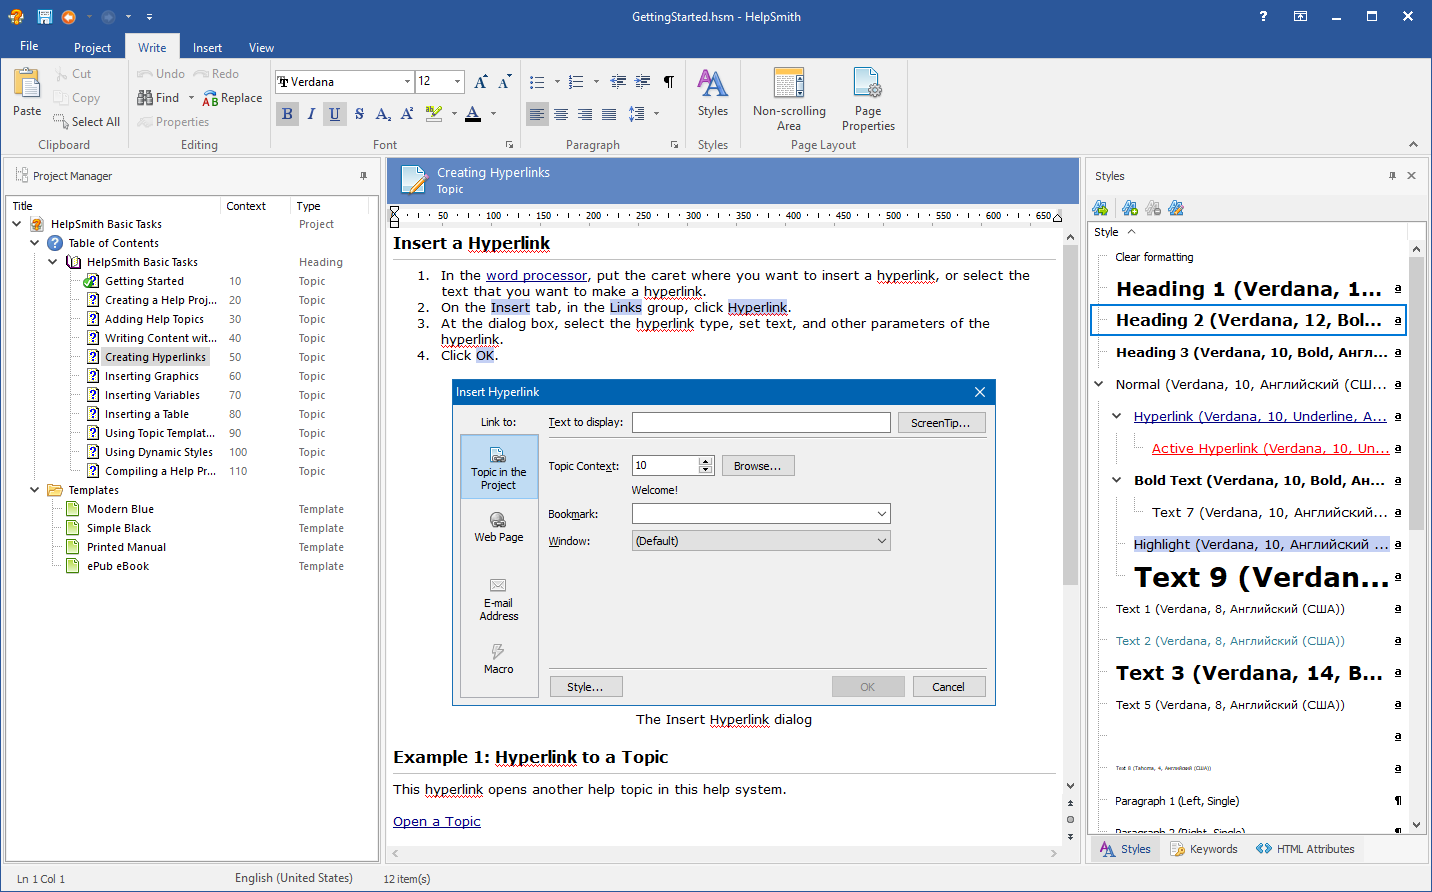
Adding Navigation Links to a Help File
HelpSmith allows you to add Navigation Links that the users of your .CHM help file or Web Help system can use to toggle between the previous, next, default, first, and last topics. Usually the Navigation Links are inserted into the top-right corner of the header area of the help topics.
Since HelpSmith provides support for templates that you can edit directly in the built-in word processor, you can simply insert the Navigation Links placeholder into the template that applies to the topics in specific output formats.
Thus, you can easily add Navigation Links to any help project without the need to insert the placeholder into each and every topic.
Below are the steps that you can follow to add Navigation Links to your help file.
Step 1: Create (or Edit) the Topic Template
a.) If you do not use templates in your help project, you can add a template as follows:
- On the Project tab, in the "Topics & Templates" group, click the lower half of the Add button.
- In the popup menu, click "Add Template".
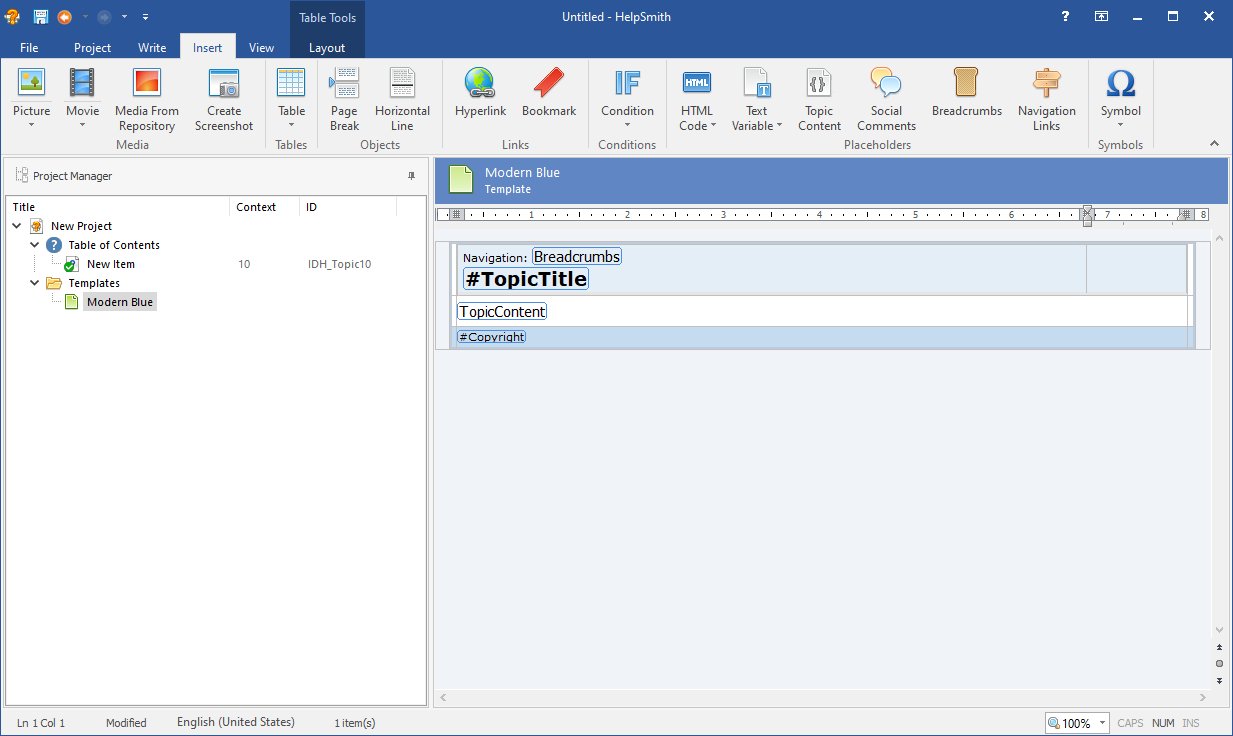
- In the "Create As" box, select a pre-built template, such as "Modern Blue" (you will be able to edit it later).
- In the "Use As Default Template" box, check "HTML Help (CHM)" and "Web Help" options, so your template will be set as the default template for these output formats.
- Click OK.
b.) If you already use a template in your help project, open the template for editing:
- In the Project Manager, under the Templates node, select the template to which you want to add Navigation Links.
Remark: You can learn more on using templates in HelpSmith here.
Step 2: Insert the Navigation Links Placeholder
- In Project Manager, under the Templates node, select the template that you need.
- In the word processor, put the text cursor where you want to insert Navigation Links.
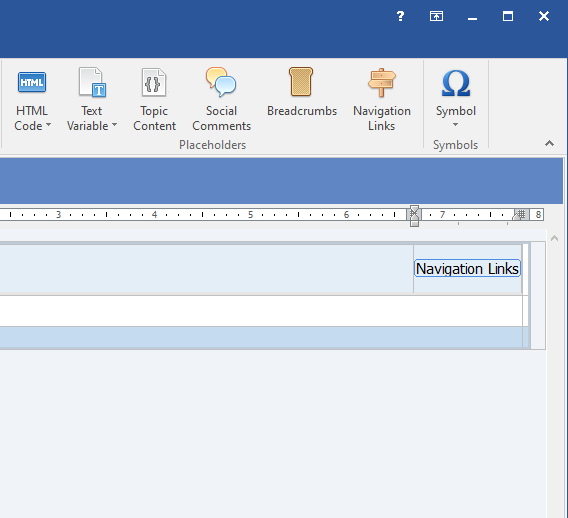
Remark: For example, you can insert Navigation Links to the top-right corner of the "Modern Blue" template. - On the Insert tab, in the Placeholders group, click Navigation Links.
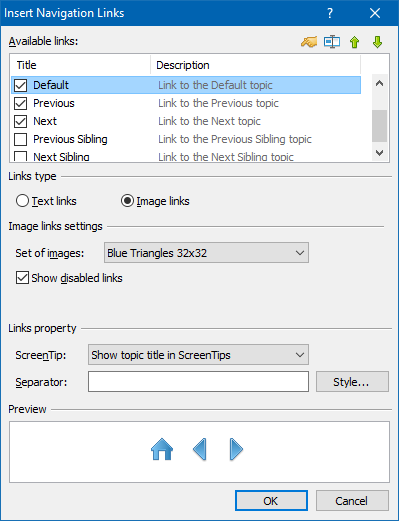
- In the Navigation Links dialog, specify the parameters including:
- Links that you want to display (for example, Default, First, Last, Parent, Previous Next, etc.).
- Specify if you want to display text links, or arrow-images.
- And other settings.
- Click OK.
Edit Navigation Links Properties
If you need to modify properties of an existing Navigation Links placeholder:
- In the Project Manager pane, under the Templates node, select the template containing the placeholder.
- In the word processor, double-click on the Navigation Links placeholder.
- In the Navigation Links dialog, edit the settings that you need.
- Click OK.
Compile Your Help Project to Test Your Navigation Links
You can compile your help project (click: Project|Compile, or press the F9 key) and test your Navigation Links in your CHM help file, or online Web Help system. Thus, you can see how you can create good-looking help files and documentation with easy navigation.