
|
Using the Image Tool / Image Tool: Overview |
Send comments on this topic |
The functionality described in this topic is available in HelpSmith Professional (or higher) edition only.
HelpSmith includes a built-in Image Tool that you can use to capture screenshots, create various annotations, and add clickable hotspots for images. Also, you can use control annotations for UI elements, which can be exported to the topic directly. Thus, the Image Tool significantly simplifies the process of writing documentation for the user interface of your application.
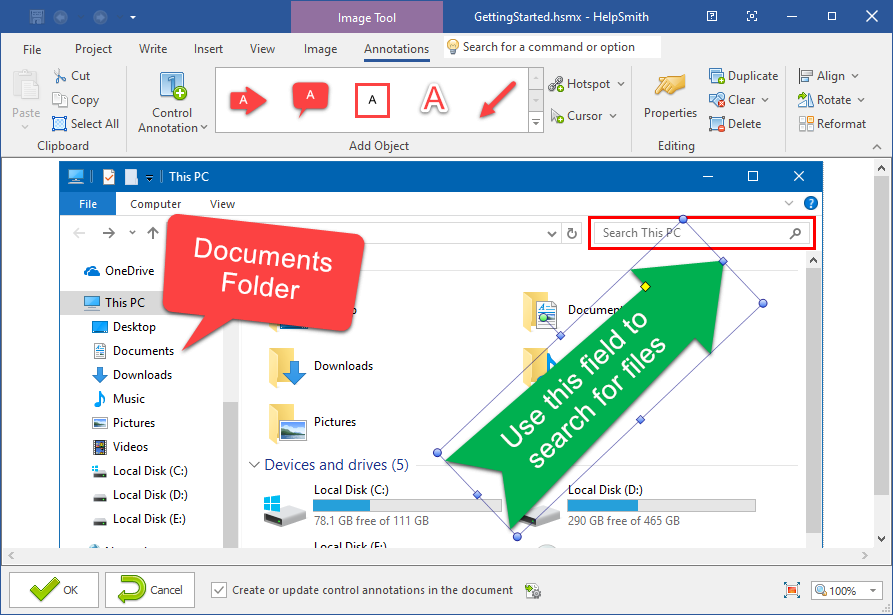
Editing Annotations in the HelpSmith's Image Tool
Key Features of the Image Tool in HelpSmith
The Image Tool available in HelpSmith provides you with the following features:
•Screenshot tool allowing you to capture the entire screen or individual dialog windows.
•Various annotation objects that you can add to an image: rectangles, balloons, arrows, lines, text labels, and other annotation types.
•Control annotations for UI elements that can be exported directly into the topic.
•Hotspots allowing you to create clickable regions linking to a topic, or to an external URL address.
•Crop tool to remove unwanted parts of a captured screenshot.
•The ability to capture the mouse cursor.
•Flexible settings to customize the appearance of annotations.
Using the Image Tool
•Adding Annotations to an Image
•Exporting Control Annotations to the Topic
•Modifying Image Files in Media Repository
Copyright © 2007-2026 HelpSmith.com